Node Package Manager, or NPM, is a defacto registry of JavaScript libraries, where anyone can create and publish a library (called package), both public and private. For publishing private packages, subscription fee is required.
In this post, we will discuss how we can host our public or private JavaScript library at Github, maintain various versions of the library using tags, and, finally, include a specific version of the library in some project and use its code.
Let’s begin:
Create A Library
Let’s create a dummy library that adds, subtracts, multiplies and divides two given numbers. To do this from the ground up, follow the below steps:
- Create an empty folder. Name it
my-calculator. - Add an empty JS file
index.js. - Run
npm initcommand from inside the folder, press enter for all the prompts (or make changes if you want) until thepackage.jsonfile is created for you. - Open
package.jsonand add the name and version that you want. Default name is the folder namemy-calculator, and starting version is “1.0.0” according to semver convention. This name will be used to install your library. The initial package looks like this:
{
  "name": "my-calculator",
  "version": "1.0.0",
  "description": "",
  "main": "index.js",
  "scripts": {
    "test": "echo \"Error: no test specified\" && exit 1"
  },
  "author": "",
  "license": "ISC"
}
- Now paste the following code inside
index.js.
const add = (a, b) => a + b;
const subtract = (a, b) => a - b;
const multiply = (a, b) => a * b;
const divide = (a, b) => a * b;

export {
  add,
  subtract,
  multiply,
  divide
};
Add Remote Git Repository And Push The Code
- Inside the folder, run
git init - Create a new repository on Github by the name of
my-calculator. Here (or later), you can choose Private to keep the library from public access. - Copy the remote git repository address and run the command
git remote add origin git@github.com:TalhaAwan/my-calculator.git(Replace TalhaAwan with your username). - Add, commit and push the existing code:
git add package.json index.js,git commit -m "Initial commit",git push origin master
Publish a Tag
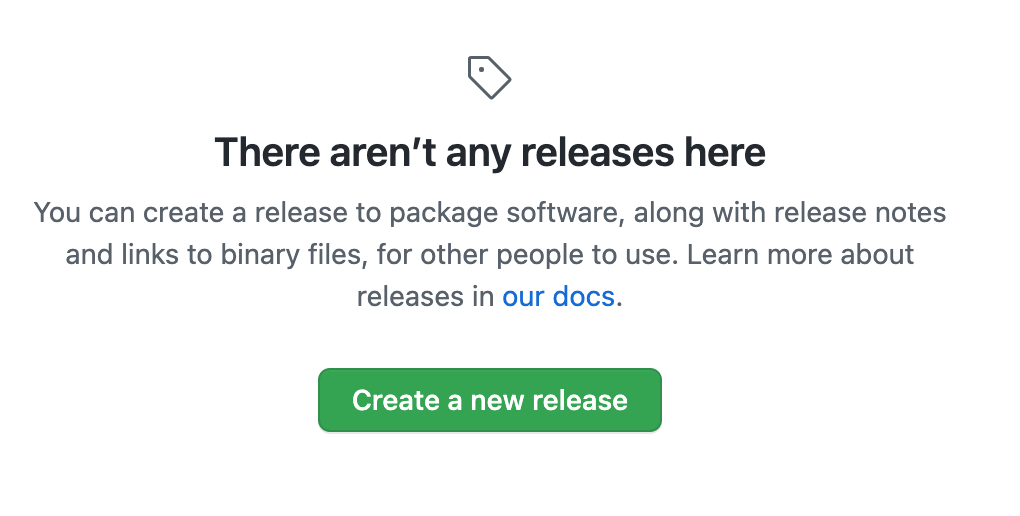
From your github repository main page, click tags:

Then click create a new release:
Choose a tag:
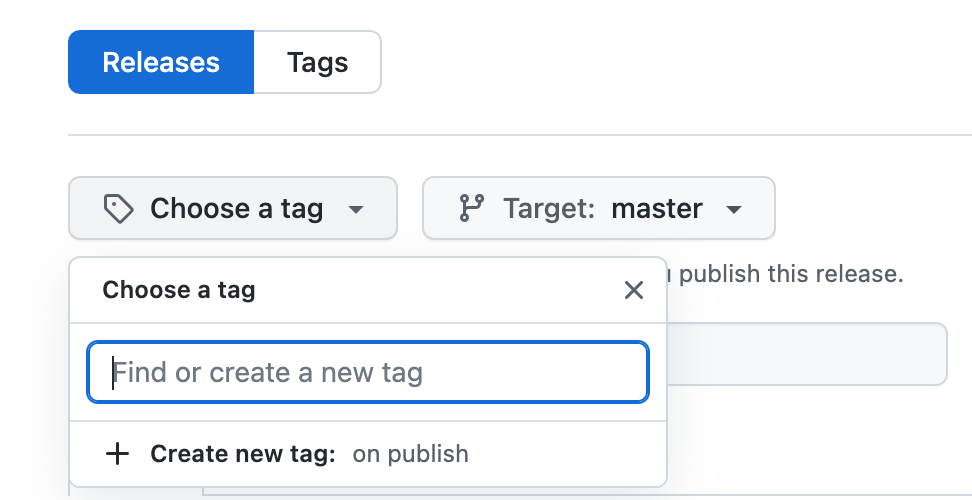
Fill in the tag name as v1.0.0 and click “Create new tag: on publish”. Provide informative title and description about the release:
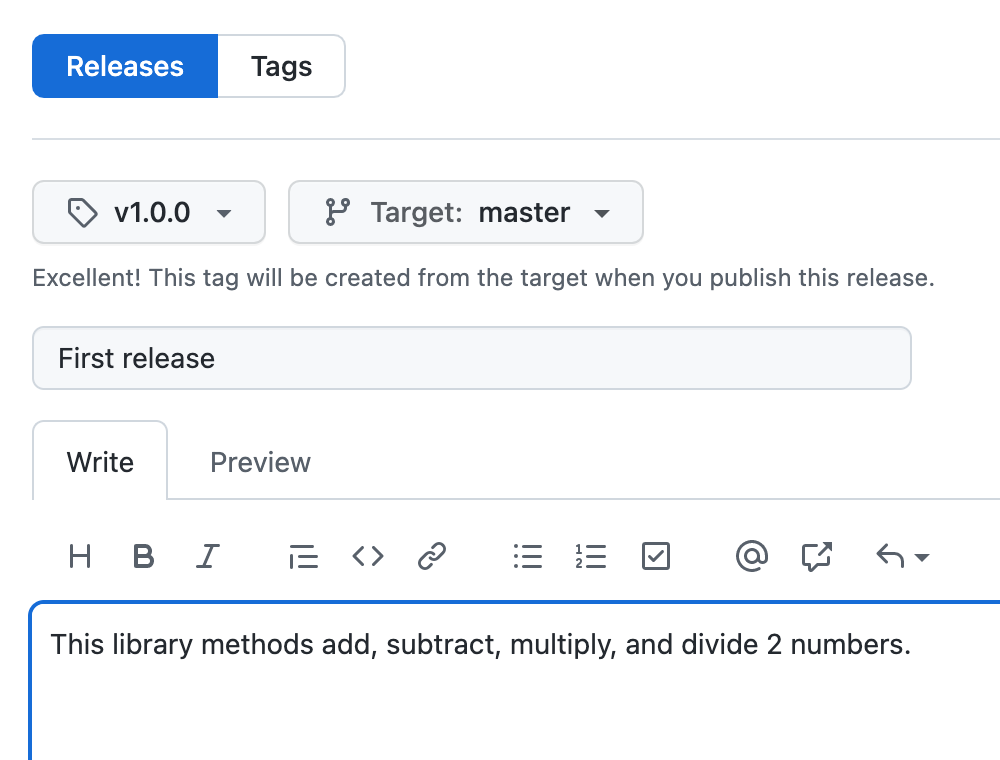
Finally, Publish release.
Include And Use The Library In Another JavaScript Project
In the package.json of the project where you want your library to be included, add my-calculator key with its value inside dependencies as follows:
{
  "name": "some-app",
  //...
  "dependencies": {
    "my-calculator": "git://github.com/TalhaAwan/my-calculator.git#v1.0.0"
  },
}
Now run npm install or yarn to install that dependency in your application.
Finally, in the file where you need this library import (or require), and use it:
// common js
const myCalculator = require("my-calculator");
const { add, subtract, multiply, divide } = myCalculator;

// OR

// es modules
import { add, subtract, multiply, divide } from "my-calculator";

add(2, 2);
subtract(7, 3);
multiple(3, 7);
divide(12, 2);
Publish A New Release
Say we need to update our add and multiply methods, so that they can take any number of arguments, more than just 2.
const add = (...numbers) => numbers.reduce((total, num) => total + num);
const subtract = (a, b) => a - b;
const multiply = (...numbers) => numbers.reduce((total, num) => total * num);
const divide = (a, b) => a * b;

export {
  add,
  subtract,
  multiply,
  divide
};
Now open package.json and change the library version to 1.1.0. This step is important, because if the version inside package.json is not updated, the github version tag alone might not be enough to fetch the latest code on npm install.
{
  "name": "my-calculator",
  "version": "1.1.0",
  "description": "",
  "main": "index.js",
  "scripts": {
    "test": "echo \"Error: no test specified\" && exit 1"
  },
  "author": "",
  "license": "ISC"
}
Now, repeat the steps mentioned above to add, commit and push the changes to the remote repository.
Once pushed, head to the github release sections, click on Draft a new release create a new tag by the name v1.1.0. Briefly mention what new changes have we done in this release, along with the release title, and click Publish release.
[Notice that the although API signature for add and multiply have changed, the new methods still won’t break any old code which is passing just two arguments. That’s why we have incremented the middle (minor) number to 1. If changes were drastic and incompatible with any old code using our library, we would have needed to upgrade the major version from 1 to 2.]
Use New Release In You Code
In your project package.json under dependencies where you had included the library, change the tag part to the v1.1.0:
{
  "name": "some-app",
  //...
  "dependencies": {
    "my-calculator": "git://github.com/TalhaAwan/my-calculator.git#v1.1.0"
  },
}
And run again npm install or yarn for new changes to be fetched. Now your code has the new version of the library.
We’re done with the demo! Now let’s answer a couple of questions:
Why Do We Need To Skip NPM Registry?
At NPM private libraries need to be paid for, whereas Github and Bitbucket provide private repos for free. To have a free in-house private library (for self or organization), this method is cost effective. For a public library, I see no reason to avoid NPM registry.
What Else Should Be Added To The Library?
Ideally, the library hosted and used this way on Github, should have all of the essentials that we ensure while publishing a library on NPM. Most importantly, it should have a README file and test suite.
Should /src And /dist Be There?
If the code is simple enough like our above example, and doesn’t need the source code to be different from the final code to be distributed (such as after babel or Typescript tranpilation), then we can publish and use it as it is. Otherwise, it’s always a good idea to keep your source code under /src directory, whereas your final build in /dist or /lib folder. In this case, you need to modify the way to import the code to:
// common js
const myCalculator = require("my-calculator/dist");

// OR

// es modules
import { add, subtract, multiply, divide } from "my-calculator/dist";
See also
- SignatureDoesNotMatch: The request signature we calculated does not match the signature you provided. Check your key and signing method.
- Yup Date Format Validation With Moment JS
- Yup Number Validation: Allow Empty String
- Exactly Same Query Behaving Differently in Mongo Client and Mongoose
- JavaScript Unit Testing JSON Schema Validation
- Reduce JS Size With Constant Strings
- JavaScript SDK